
Connecting your own Stripe account to DirectoryCraft lets you collect payments directly from listing submissions. This guide walks through the complete Bring Your Own Keys (BYOK) setup, from account creation to your first successful test payment.
Prerequisites
Before starting, ensure you have:
- An active Stripe account (register at stripe.com if needed)
- At least one product created in Stripe, this can be one-time or recurring
- Admin access to your DirectoryCraft project
Understanding Test vs Live Mode
Stripe operates in two distinct environments. Keep these separate to avoid confusion:
| Mode | Purpose | Key Prefix | Checkout Behavior |
|---|---|---|---|
| Test | Development and validation | sk_test_, pk_test_ | Uses test card numbers, no real money moves |
| Live | Production payments | sk_live_, pk_live_ | Processes actual transactions |
Critical rule: Test keys only work with Stripe’s test checkout pages. Live keys only work with real checkouts. Mixing these modes is the most common source of “why isn’t this working” confusion.
Step 1: Add Your Secret Key
The secret key authenticates your DirectoryCraft project with Stripe’s API.
- In Stripe, go to Developers → API keys
- Copy your Secret key (not the Publishable key)
- In DirectoryCraft, navigate to Integrations → Stripe
- Paste the secret key
Security note: Secret keys are encrypted immediately upon saving. DirectoryCraft never displays them again. If you lose track, generate a new key in Stripe and update the integration.
Step 2: Configure the Webhook
Webhooks let Stripe notify DirectoryCraft when payment events occur. Without this, your platform cannot confirm successful payments.
Copy Your Webhook URL
From Integrations → Stripe in DirectoryCraft, copy the displayed webhook URL. It follows this pattern:

For Test: https://www.example.com/api/stripe/webhook/project-id/test
For Live: https://www.example.com/api/stripe/webhook/project-id/live
Add the Endpoint in Stripe

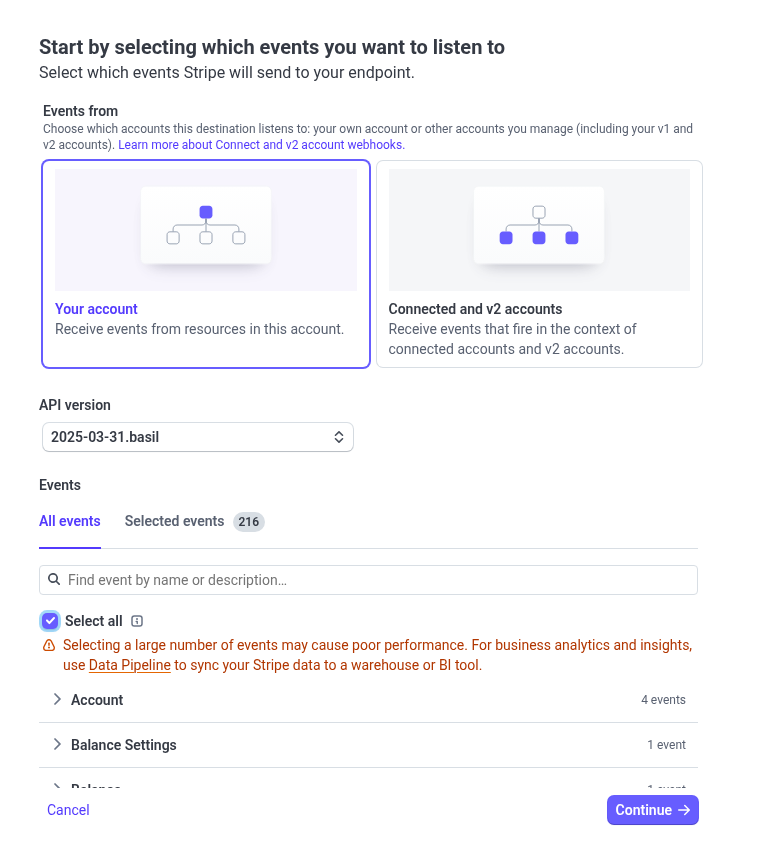
- In Stripe, go to Developers → Webhooks
- Click Add an endpoint
- Paste your DirectoryCraft webhook URL
- Select these required events:
checkout.session.completedcheckout.session.async_payment_succeededcheckout.session.async_payment_failedcheckout.session.expire
- Save the endpoint

Retrieve the Webhook Secret
After creating the endpoint:
- Click into the endpoint details
- Reveal and copy the Signing secret (starts with
whsec_) - Return to DirectoryCraft → Integrations → Stripe
- Paste the webhook secret and save
Like secret keys, webhook secrets are encrypted and hidden after initial entry.
Step 3: Enable Paid Submissions
With Stripe connected, configure which listings require payment:
- Go to Submit Form → Settings
- Enable Paid submissions
- Select one or more Stripe Prices to offer as payment options
You can attach multiple Prices here — for example, a basic listing and a featured upgrade.
Step 4: Test Your Integration
Never skip testing. A complete test validates your entire flow before real customers encounter it.
Run a Test Checkout
- Ensure your DirectoryCraft integration uses test keys
- Submit a test listing through your public form
- At checkout, use Stripe’s test card numbers:
4242 4242 4242 4242— successful payment4000 0000 0000 0002— declined payment
- Complete the checkout flow
Verify the Result
Return to your DirectoryCraft admin and check the submission. The payment status should update to Paid within seconds of checkout completion.
Post-Checkout Behavior
After payment, Stripe redirects users back to your site:
/submit?submission=SUBMISSION_IDDirectoryCraft displays a success message and automatically redirects to your homepage after a brief delay. If payment fails or cancels, the user returns with success=false and sees appropriate messaging.
Troubleshooting Common Issues
| Symptom | Cause | Solution |
|---|---|---|
400 Invalid signature error in logs | Wrong webhook secret | Re-copy the whsec_ value from Stripe endpoint details |
| Payment status stuck on “Pending” | Webhook not delivered, mode mismatch, or wrong Stripe account | Verify webhook URL is publicly reachable; confirm test vs live mode alignment; check you’re using the correct Stripe account |
| Missing payment events | Events not subscribed | In Stripe webhooks, ensure all four required events are selected |
| Webhook test fails in Stripe | URL blocked by authentication | Disable preview auth, basic auth, or IP restrictions on your DirectoryCraft project |
Webhook delivery requirement: Stripe cannot deliver webhooks to URLs behind authentication barriers. If your project uses password protection or preview mode, temporarily disable it during integration setup, or whitelist Stripe’s IP ranges.
Going Live
Once testing succeeds completely:
- In Stripe, toggle to Live mode
- Generate new live API keys and live webhook endpoint
- Update DirectoryCraft with live secret key and live webhook secret
- Switch your Submit Form Prices to live Prices
- Run one final live checkout with a real card (use a small amount, refund immediately)
Security Summary
| Component | Storage | Visibility |
|---|---|---|
| Stripe secret key | AES-256 encrypted | Never shown after entry |
| Webhook signing secret | AES-256 encrypted | Never shown after entry |
| Payment events | Logged for debugging | Retained 30 days |
DirectoryCraft never transmits your keys to browsers or third parties outside of direct Stripe API calls.